Setting Up Gravity Forms Connect
GRAVITY FORMS CONNECT #
This extension allows you to create new records in WP-CRM System every time a site visitor submits a Gravity Form on your site.
These visitors may be potential customers and their valuable contact information should not be lost in an email. Use this extension to automatically grab the visitor’s contact information and add it to WP-CRM System the second they hit Submit on your form.
This extension works by mapping fields in a Gravity Forms feed with fields in WP-CRM System so that only the information you need gets imported. If a record already exists in WP-CRM System it won’t be created again so you don’t have to worry about getting overloaded with new entries.
The Gravity Forms Connect extension will also map any of your custom fields that were made with our Custom Fields extension. This lets you get really creative in the way that you collect information from your site visitors.
Requirements: #
- Self-hosted WordPress website (version 3.3 or higher). Will not work on WordPress.com sites.
- WP-CRM System plugin installed and activated (strongly recommended to update to the latest version).
- Gravity Forms plugin installed and activated.
Gravity Forms is a premium contact form plugin, which is not included with this purchase. Please visit http://www.gravityforms.com/ to purchase Gravity Forms.
Screenshots: #
Create a Gravity Form that will collect the appropriate information to create a new contact form.

Mapping Fields in Gravity Forms Feed Settings
WP-CRM System is not affiliated with Gravity Forms or Rocketgenius, Inc.
Field mapping tutorial
Step 1: Create a new gravity form – choose either Forms or New Form from the WordPress admin menu and give it a name (it will be displayed on the front-end as a form label).
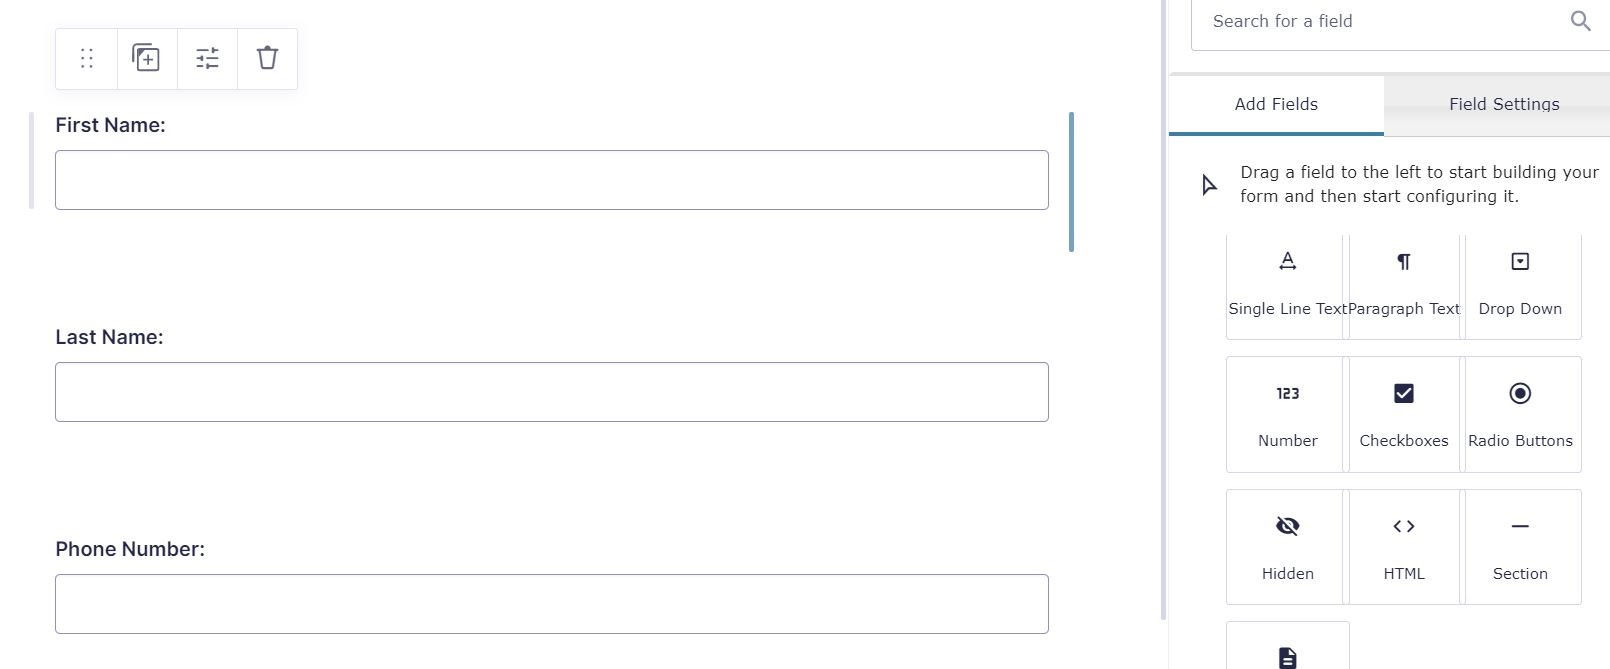
Step 2: Using the drag and drop editor, build all the fields, which are to be mapped to WP-CRM. For example, if the form purpose is to create a new contact with first, last name and a phone, three fields should be added – two Single Line Texts and one Number:
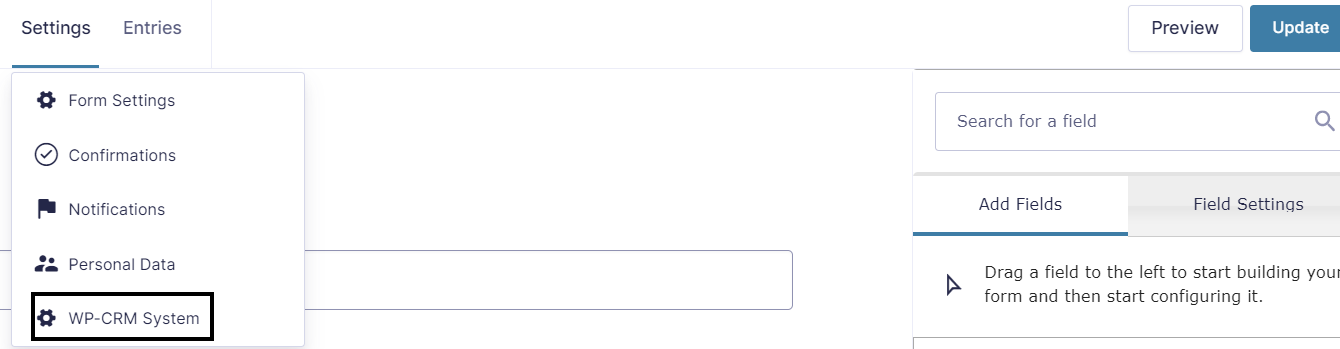
Step 3: After all the fields are added and the form saved, they need to be mapped to the WP-CRM System. To do so open Settings (from the top menu) and choose WP-CRM System:
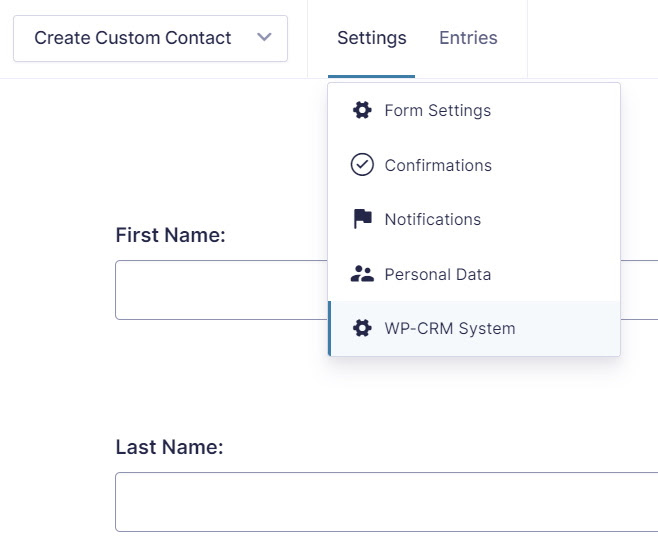
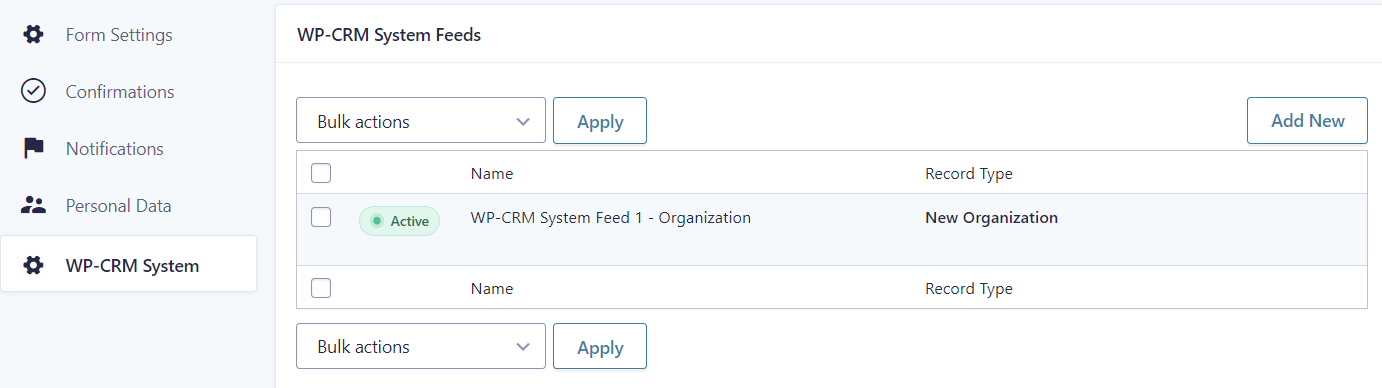
From the WP-CRM System Feeds add a new one:

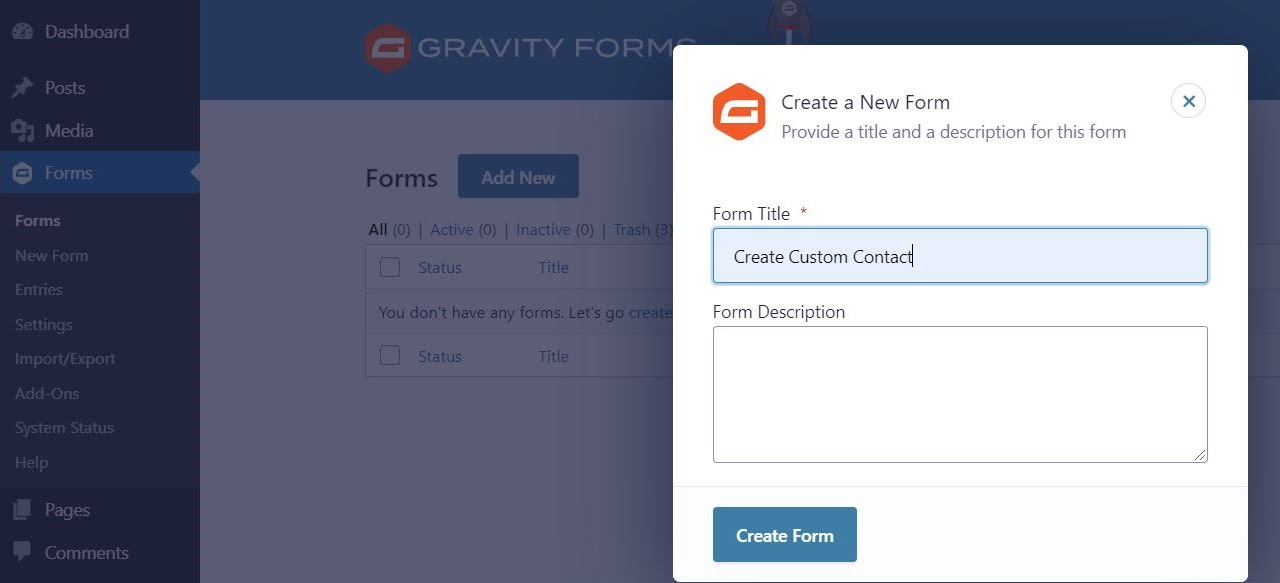
Step 4: Name the feed – it can be the same as the form name for easier navigation and choose the corresponding action – in this case, Create a New Contact because the current goal is to use the form fields to create a contact.

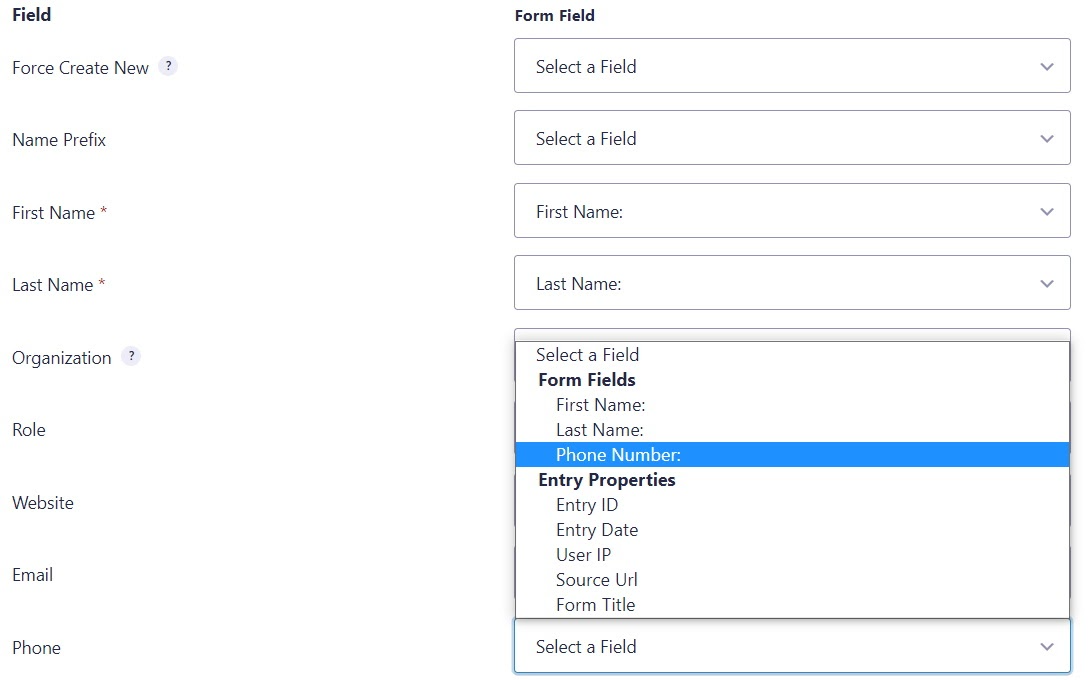
Step 5: After choosing the wanted action, the system will load all the fields that are associated with the action, regardless of the form has that many fields (it will probably not). Only the fields that will be used in the form need to be mapped. In this tutorial, those will be the First Name to Form Field – First Name: Last Name to Form Field – Last Name: and Phone to Form Field – Phone Number: and then save the mapped fields by pressing Save Settings at the end of the page.
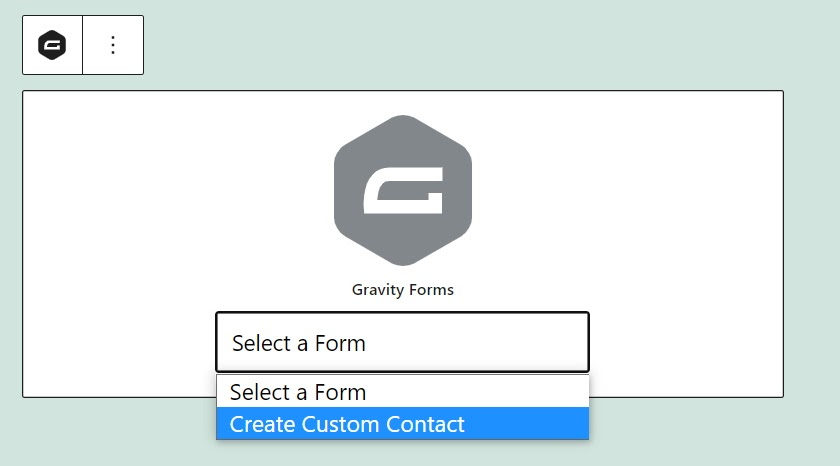
Step 6: To test if the mapping was successful, add a gravity form to a page or post and select the newly created form by its name and publish/update it.
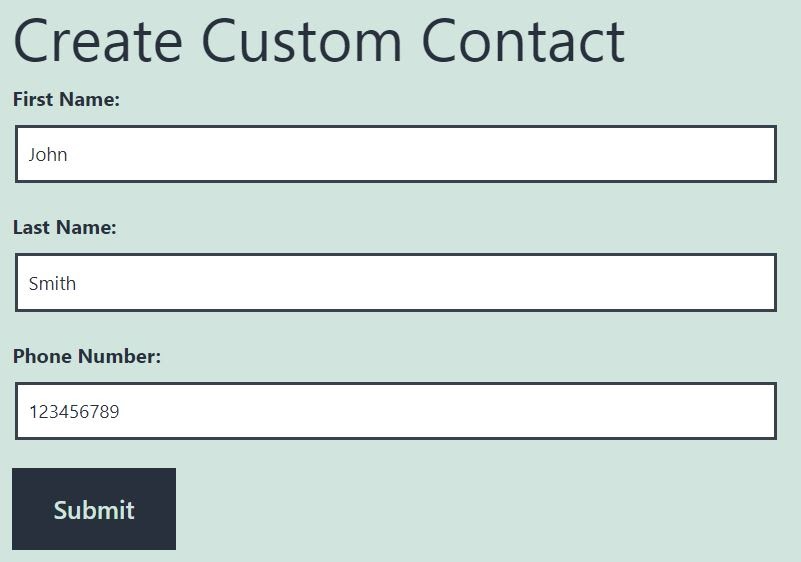
Open the page, fill the form and click submit:
If all is set up correctly, in the WordPress admin screen, under WP-CRM System choose Contacts and the one which was just submitted should be there:

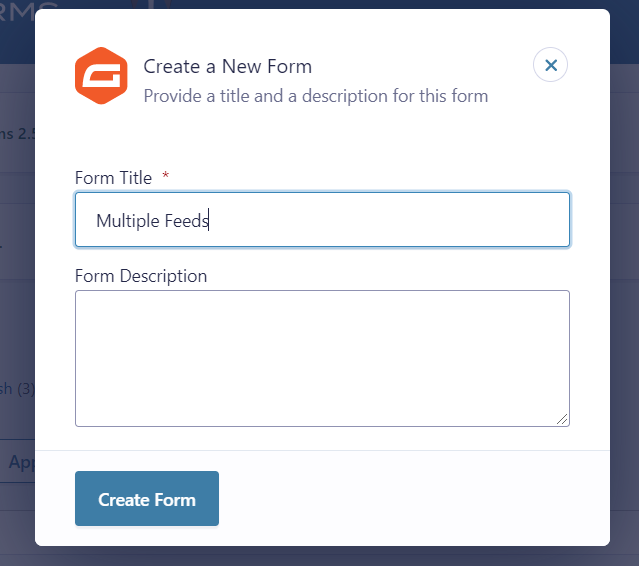
Multiple feeds tutorial (use a single form to create/update multiple WP-CRM System elements)
Step 1: Create or edit a gravity form.
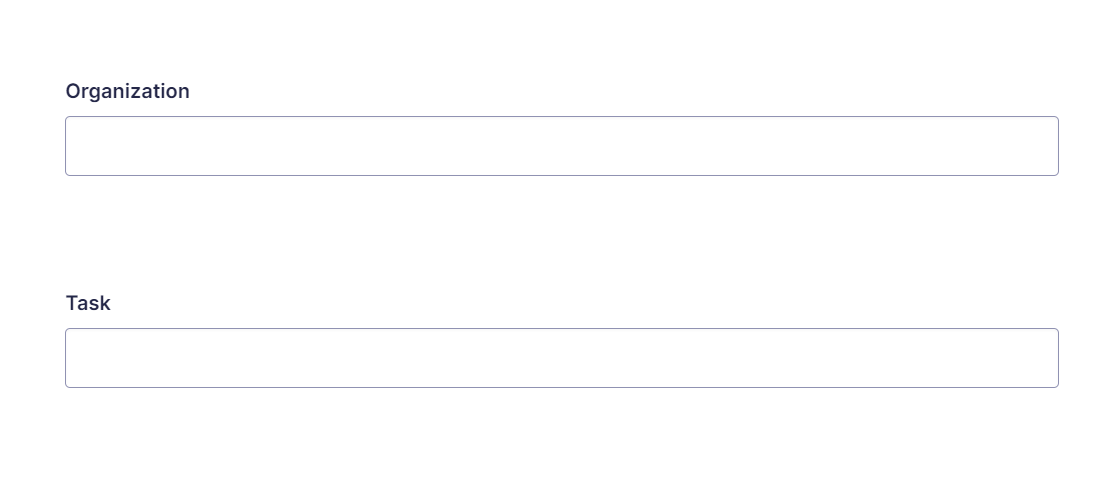
Step 2: Add form fields for the different elements – in this example, a task name and organization name will be used:
Step 3: Update and go to Settings -> WP-CRM System
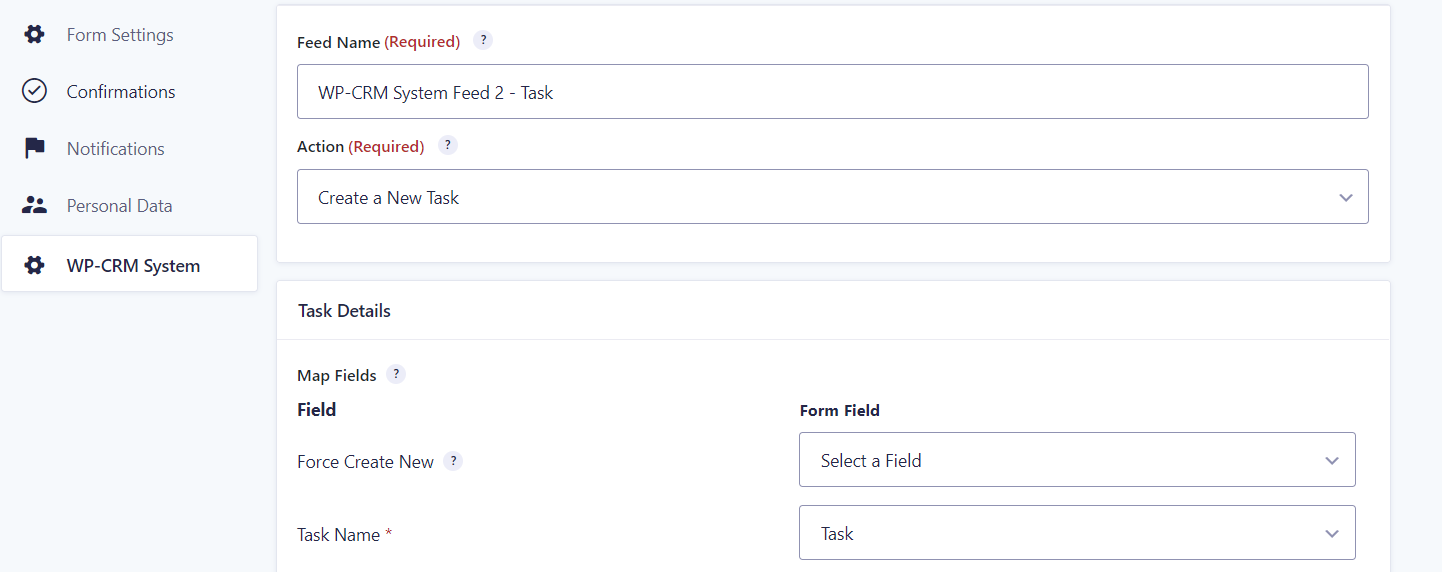
Step 4: Add a new feed with a meaningful name, for example – WP-CRM System Feed 1 – Organization and action create a new organization. In the current example, only the Organization name field needs to be matched and the form saved. If there are multiple fields, the steps are the same:

Step 5: While in the form click on WP-CRM System and the newly created feed should be visible as well as a button to add a new one:
Step 6: Add a new feed with the Add new button with a different name. For the current example, a feed for the task element is created and again only one field will be mapped – Task Name:
Step 7: After saving all the feeds, navigate to the page, where the form should be displayed and add a new Gutenberg block – Gravity Forms. Choose the newly created form, in the current example this is Multiple Feeds:
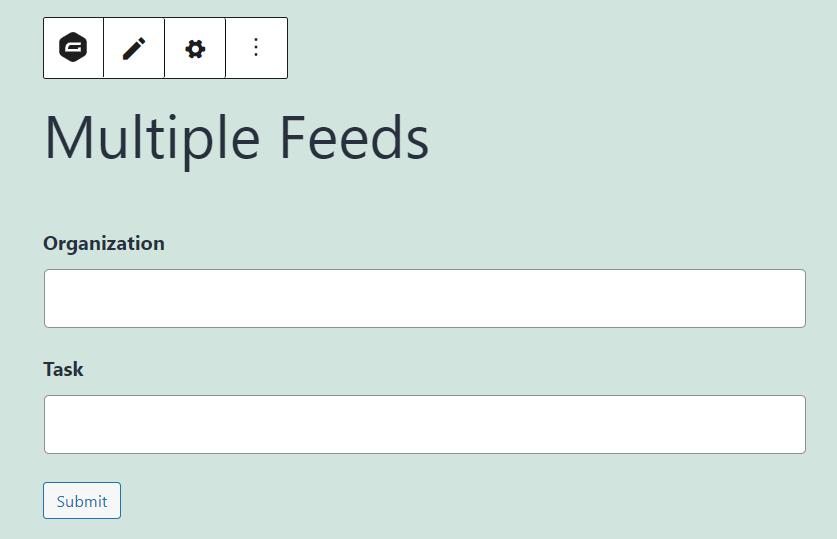
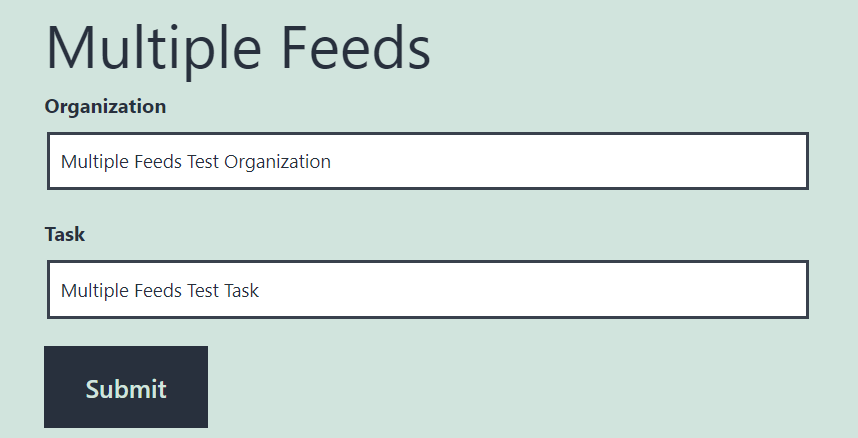
Step 8: Upon saving the page, the form will be visible and ready for use from the front end. Enter the desired name for the new organization and task and press submit. The form will simultaneously create a new WP-CRM Organization and a new WP-CRM Task.
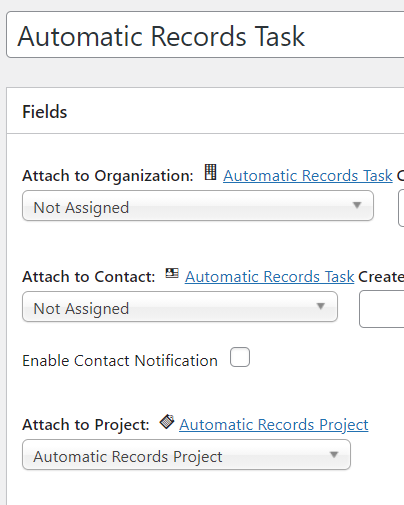
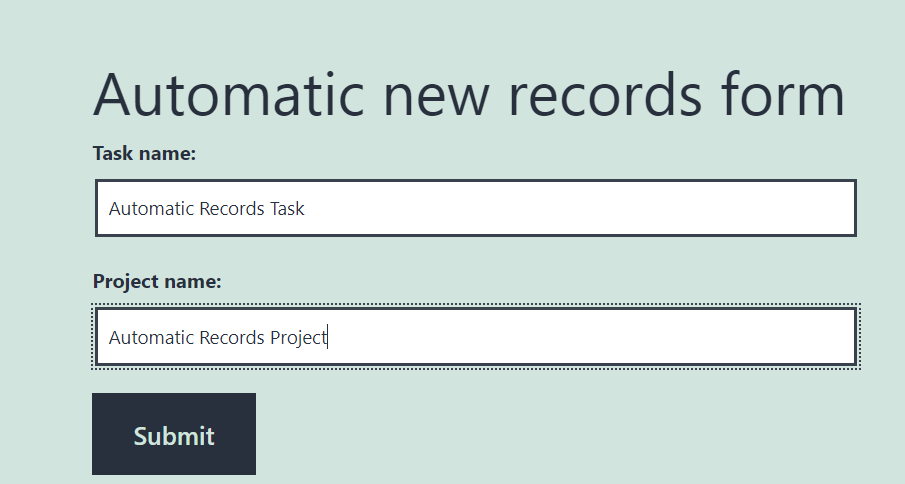
Automatically Create New Records – a single form with one feed can be used to create an element and its attachments. For example – a task with a project.
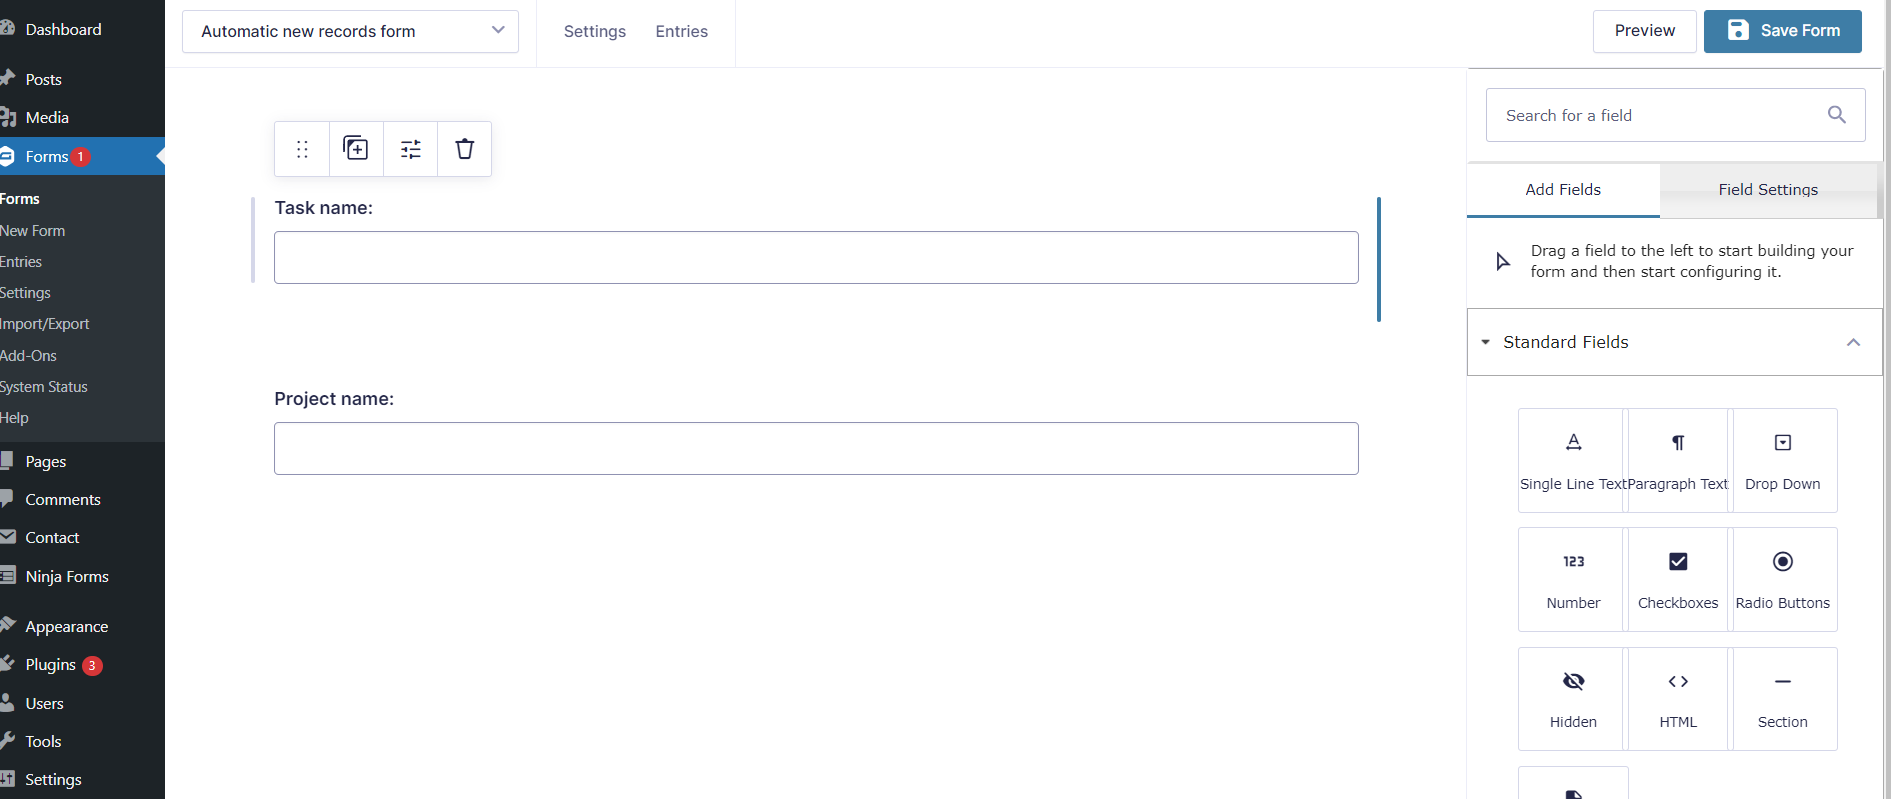
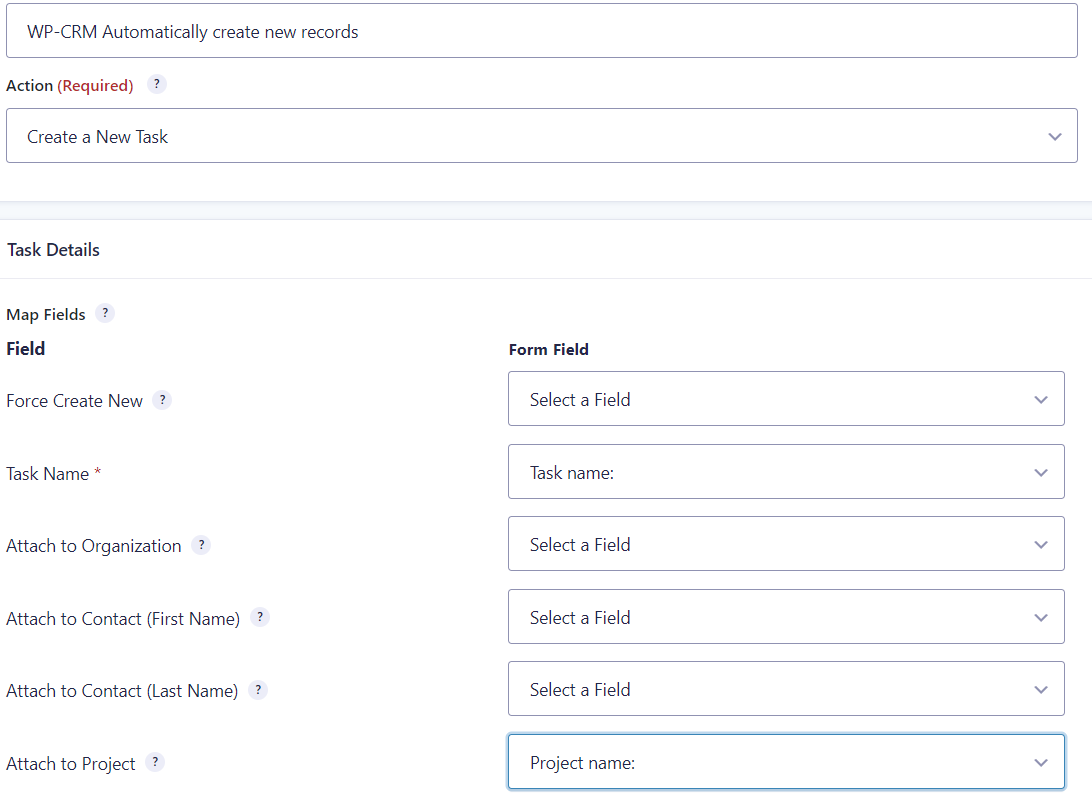
Step 1: Using the same steps as for the mapping, create a new form with fields for the task name and the project name and a new feed with create task action and map the fields task name and Attach to Project to the fields that were just created in the form:
Step 2: After saving the new form and feed with the mapped fields, display the gravity block on the page that will be displayed on the front-end and save the page.
Step 3: Using the new form from the front-end enter a task name and a project name in the corresponding fields and press submit:
Step 4: In the WP-CRM System admin menu, under task – the new entry will be visible and upon opening it, it is visible that both the task and the project are created, as well as the project attached to the task: